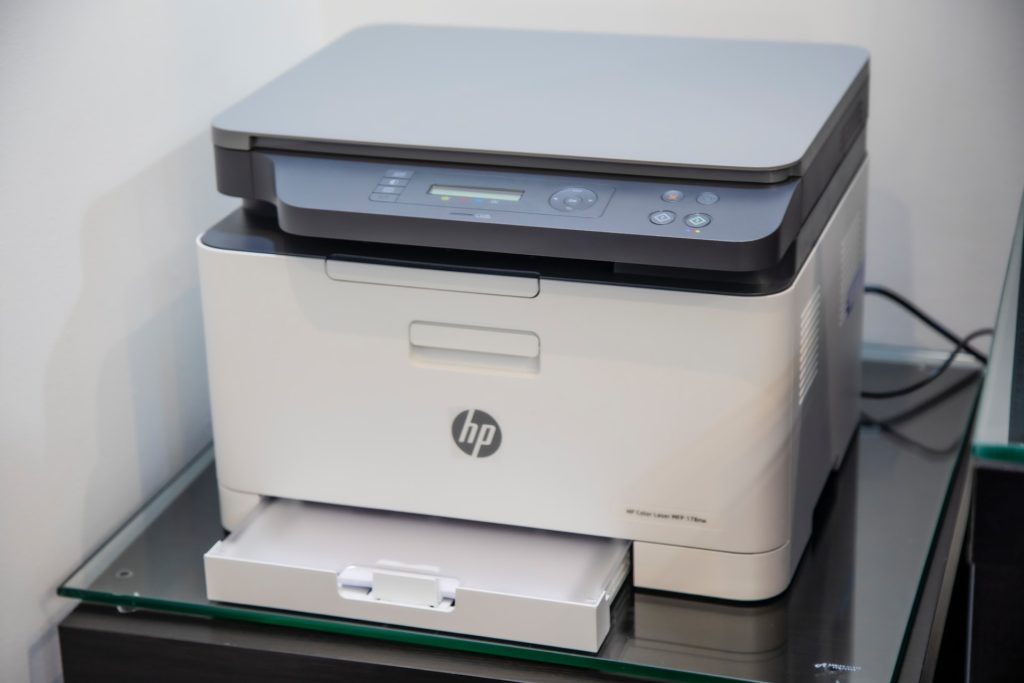
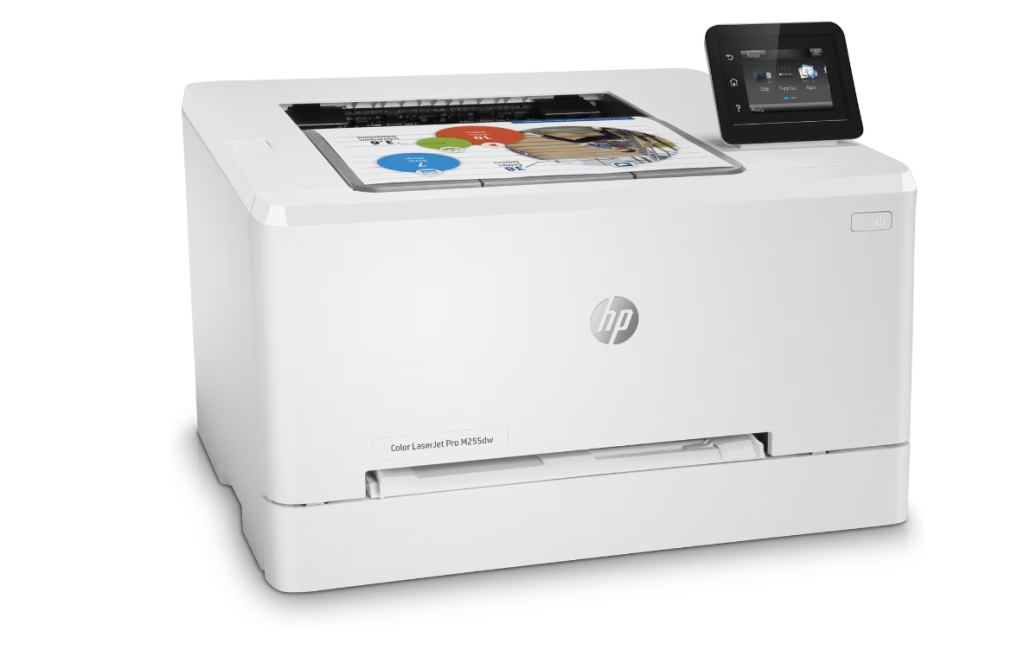
Please note that specific steps may vary depending on your printer model and operating system. Before you begin, make sure you have the printer installation software and drivers CD or download the latest drivers from the official HP website.

Step 1: Preparation Place the HP printer where you want to install it and ensure it’s connected to a power outlet. Open the printer cover, insert the ink cartridges or toner cartridges (if required), and then close the cover.
Step 2: Install Drivers Insert the printer’s installation CD into your computer, or download the latest drivers from the official HP website. Run the installation program. On Windows, there’s typically an auto-run option where you just need to click “Run” or “Install.” On macOS, you’ll need to double-click the installation program icon. Follow the on-screen prompts to complete the installation process. You may need to choose the connection method (USB or network) and select the printer model, among other information. After installation, you may need to restart your computer to ensure the drivers are properly loaded.
Step 3: Connect the Printer If you’re using a USB connection, plug the USB cable into the printer’s USB port and the other end into your computer’s USB port. If you’re using a network connection, follow the instructions in the printer manual. This may involve connecting the printer to a wireless or wired network and selecting the correct network printer on your computer.
Step 4: Test the Printer Print a test page to ensure the printer is installed correctly. You can find the test page option in the printer’s control panel menu or execute the test from the printer settings on your computer. Ensure the text and image quality on the test page are good, with no blurry or missing parts.
Step 5: Set Default Printer (Optional) If you want to set the newly installed printer as the default printer, you can follow these steps: On Windows, open “Control Panel” > “Devices and Printers,” right-click the newly installed printer, and select “Set as default printer.” On macOS, open “System Preferences” > “Printers & Scanners,” select the newly installed printer, and click “Set Default.”

Once you’ve completed these steps, your HP printer should be successfully installed and ready to use. If you encounter any issues during the installation process, you can refer to the printer manual or support documentation on the HP official website, or contact HP customer support for assistance.

